
Getting a phone plan in Korea sounds simple until you run into the chicken-and-egg problem. Your bank wants a Korean phone number, the carrier wants a Korean bank account, and half the apps you need want both. The good news: there's an order that works for most students, interns, and new expats. Start prepaid, then move to a monthly plan once your residence card arrives.
This guide walks through that order, what each option is actually good for, and what to bring so you don't end up making a second trip to the store.

Why a Korean Number Matters More Than You Think
In Korea, your phone number does a lot more than calls. It's tied to identity verification (본인인증, bonin injeung), the text-message check that many websites and apps use to confirm who you are. Shopping apps, delivery apps, some banking steps, and even some public services rely on it.
- Verification texts: Many sign-ups send a code to a number registered in your own name. A friend's number or a data-only tourist SIM often won't pass.
- Deliveries and landlords: Couriers often text or call before dropping off a package, and landlords and agents expect a local number to reach you about your rental.
- Banking: Opening an account and setting up a mobile banking app usually involves your Korean number.
So the real goal isn't just "get data." It's "get a number in my own name that works for verification," as early as your visa status allows. If banking is next on your list, we cover account opening and transfer apps in a separate guide on the Homes in Korea blog.
Prepaid vs Monthly: The Quick Comparison
Korean mobile plans come in two main types: prepaid (선불, seonbul) and monthly, also called postpaid (후불, hubul). Here's how they compare from a foreigner's point of view.
Prepaid (선불)
- Easier to get: Usually possible with just your passport, which makes it the realistic choice in your first weeks.
- No long contract: You top up (충전, chungjeon) when you need to. If you stop topping up, the line eventually expires.
- Limits: A passport-registered number may not pass identity verification on every app or site. Prepaid data can also cost more per GB than monthly options.
Monthly / Postpaid (후불)
- Better for long stays: The most practical choice for a semester or longer, with more plan options, including large-data and unlimited plans.
- More paperwork: Carriers typically ask for your Alien Registration Card, also called the residence card (외국인등록증, oegugin deungnokjeung), and many want automatic payment from a Korean bank account or card.
- Commitments: Some plans, especially ones bundled with a discounted phone, come with a contract period (약정, yakjeong). Cancelling early can mean a cancellation fee (위약금, wiyakgeum).
💡 Tip: If you're only here for a few weeks (a short exchange or a summer program), prepaid or a tourist eSIM is probably all you need. If you're staying a semester or more, plan on switching to monthly.
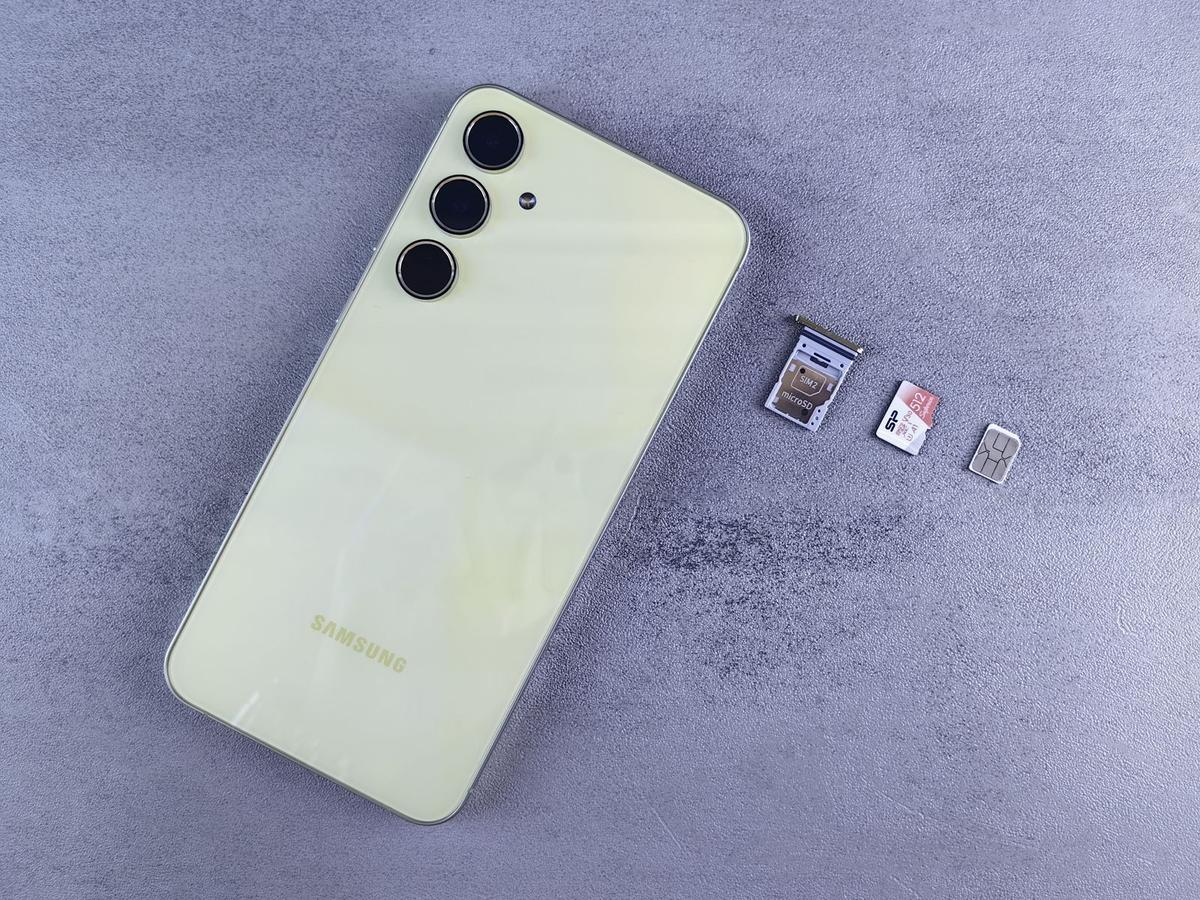
Stage 1: Your First Weeks (Prepaid or eSIM on Arrival)
Your residence card is issued some time after you apply at immigration, so you'll probably spend your first weeks without one. Processing times vary, so check the current timeline with your school's international office or on HiKorea. That gap is exactly what prepaid is for.
- Airport counters: Carriers and SIM rental companies run counters at major airports like Incheon, so you can be online before you get on the airport bus. Some tourist SIMs are data-only or don't come with a Korean number, so ask if you need one for verification texts.
- eSIM: Korea supports eSIM on compatible phones, and some providers let you buy and activate online before you land. Check that your phone model supports eSIM first.
- Prepaid USIM with a number: Some carriers and budget providers sell prepaid USIMs (유심, yusim) that give you a real Korean number registered to your passport. These are more useful than data-only SIMs because you can hand the number to your school, landlord, and bank.
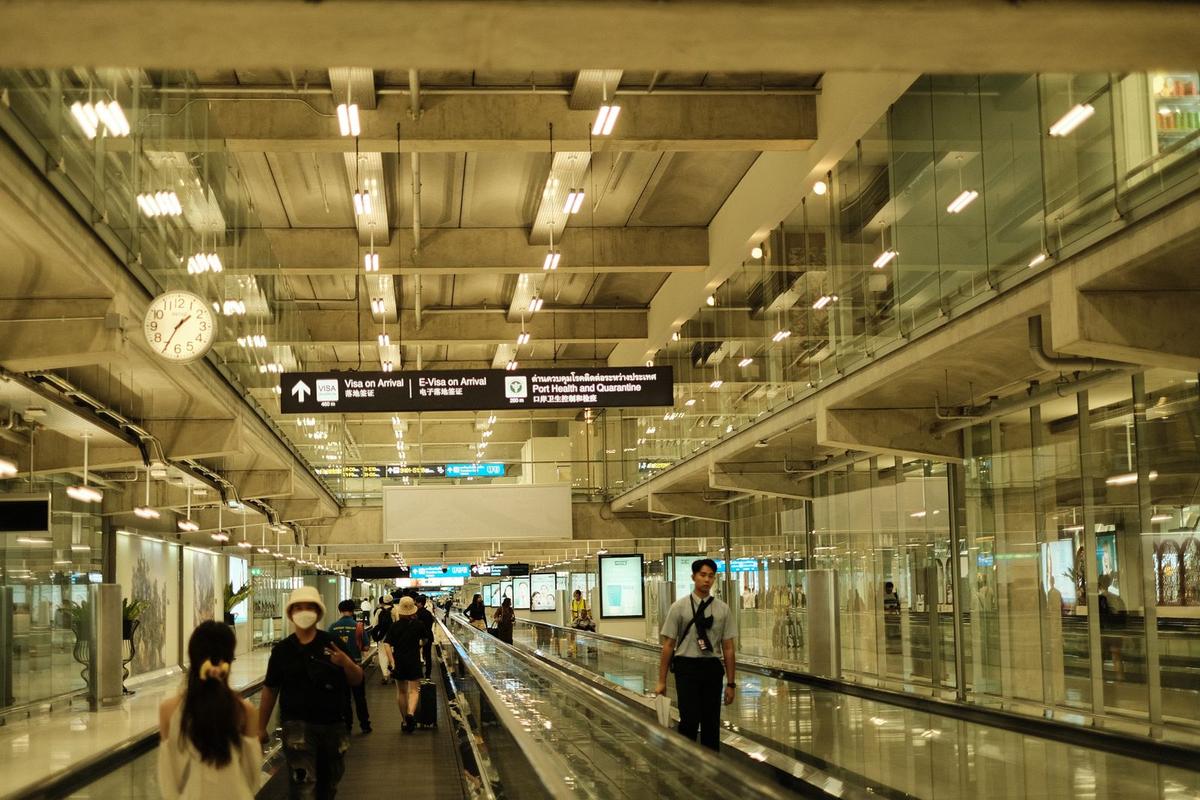
📍 Where to look: Carrier stores (대리점, daerijeom) near big stations and university neighborhoods tend to see foreign customers regularly. Some have English-speaking staff, but keep a translation app ready just in case.
💡 Tip: Before you fly, confirm your phone is carrier-unlocked. A locked phone won't accept a Korean SIM, and a Korean store usually can't unlock it for you. Only your home carrier can.
Stage 2: After Your ARC, Switch to a Monthly Plan
Once you have your residence card and a Korean bank account, you can move to a monthly plan. That means choosing between two kinds of providers.
The Big Three: SKT, KT, LG U+
- What you get: Lots of physical stores, in-person support, and frequent bundles with new phones or home internet.
- Trade-off: Plans are usually pricier than budget options, and store staff may push a new phone on a contract. Saying "SIM only" (유심만, yusimman) helps.
Budget Carriers (알뜰폰, altteulpon / MVNO)
- What you get: MVNOs rent network capacity from the big three, so you're generally on the same networks, often for noticeably lower monthly prices.
- Trade-off: Fewer stores, more online sign-up, and customer service that's usually Korean-first. Some MVNOs offer foreigner-friendly sign-up or English support, so check before you commit.
- Eligibility varies: Not every MVNO accepts foreign residents online. Some need an in-person ID check.
When you compare plans, look past the headline price:
- What happens after your data runs out: Many plans slow you down (속도 제한, sokdo jehan) instead of cutting you off. Check how slow, because it varies a lot.
- Contract length: Is it no-contract (무약정, muyakjeong), or is it 12 or 24 months?
- Promotional pricing: Some prices are discounted for a set number of months and then go up. Ask what you'll pay once the promo ends.
- Calls and texts: Most plans include plenty of domestic calls and texts. International calls are usually extra.
💡 Tip: If people already know your prepaid number, ask about keeping it. Moving your number to a new carrier (번호이동, beonho idong) is common in Korea, but the conditions depend on the carrier and plan type.
What to Bring (and What to Ask) at the Store
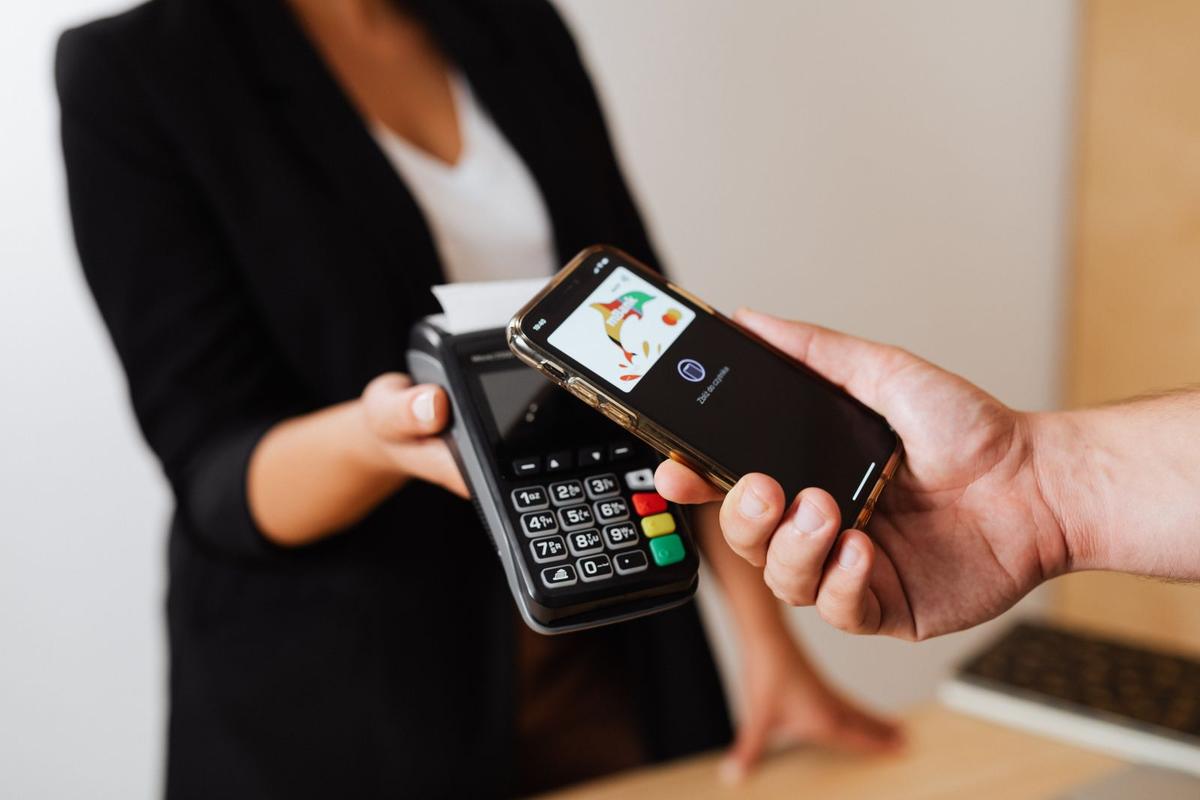
- Passport: Bring it every time, even if you have your residence card.
- Residence card (외국인등록증): Required for most monthly plans.
- Korean bank card or account details: For automatic payment (자동이체, jadong iche).
- Your unlocked phone: So staff can insert the SIM and test it before you leave.
- Your Korean address: Have it written in Korean. Copying it from your lease is the easiest way.
Questions worth asking before you sign:
- "Is this no-contract?" 무약정이에요? (muyakjeong-ieyo?)
- "How much will I pay after the discount period?" Promo prices don't always last.
- "What happens when I use up my data?" Ask about the speed after the cap.
- "Is there a fee if I cancel early when I leave Korea?" Important if your stay has a fixed end date.
- "Can I use this number for 본인인증?" Worth confirming, since that's half the reason you're here.
💡 Tip: Before you sign, get the plan name and monthly price in writing, or take a photo of the screen. If there's a language gap, it makes any later question much easier to sort out.
Common Mistakes (and What to Do When You Leave)
- Buying a phone on contract for a short stay: A 24-month contract doesn't make sense if you're leaving in 10 months. Early cancellation fees can wipe out the "discount."
- Forgetting to update the carrier after a visa extension: Your monthly line may be tied to your registered stay period. When you extend your visa, ask your carrier whether you need to update your details.
- Missing add-ons: Insurance, extra services, or paid apps sometimes get added during sign-up. Check your first bill line by line.
- Leaving without cancelling: Before you leave Korea, cancel your monthly plan (해지, haeji) and pay the final bill. Unpaid phone bills can cause problems if you come back to Korea later.
- Cutting off your landlord: Your landlord or agent may need to contact you about your deposit after your number is gone. Give them an email or messenger contact before you cancel.
If you're arriving soon and still looking for a place, a Korean number early on really helps, because agents and landlords will want to call you to set up viewings. You can browse foreigner-friendly rooms on the Homes in Korea map while you sort out your SIM.
The Simple Order That Works for Most People
- Before you fly: Confirm your phone is unlocked and check whether it supports eSIM.
- On arrival: Get a prepaid SIM or eSIM, ideally one with a Korean number.
- First weeks: Apply for your residence card and use your prepaid number for school, housing, and basic sign-ups.
- After your ARC: Open a bank account, then switch to a monthly plan with a big-three carrier or an MVNO.
- Before you leave: Cancel the plan, pay the last bill, and give your landlord another way to reach you.
It's not glamorous, but doing things in this order saves you repeat trips to the store and a lot of verification codes that never arrive.
Phone sorted? Next comes a place to live. Browse foreigner-friendly rooms near your campus or office, with no Korean paperwork maze. Find a home
Follow @host_in_korea on Instagram for faster updates


